How to use a tracking pixel
This guide shows how to use a tracking pixel without accidentally triggering it yourself. MailPixel gives you the same transparent image in two formats. Choose the format your email tool accepts, send a controlled test, then read the image requests on the private activity page.
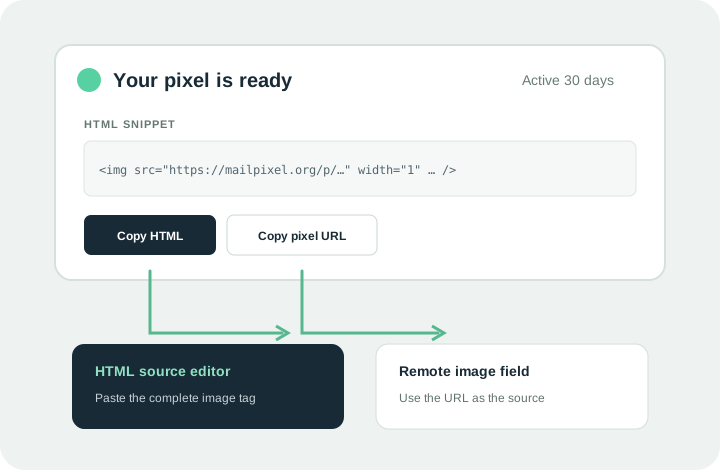
Choose the format your sender supports
How to use a tracking pixel depends on what your email sender accepts. Do not paste either result into the visible message body as plain text. The email must contain an image element whose source is the MailPixel URL.
The regular Gmail compose window has no reliable raw-HTML mode. Use the MailPixel Gmail extension to add tracking without editing HTML.
Use the copied HTML snippet
This is the fastest option when your tool accepts complete email HTML.
- Copy HTML
Create a pixel and choose Copy HTML. The snippet includes the hosted URL, one-pixel dimensions, and empty alternative text.
- Open the HTML source
Use your newsletter editor, transactional email template, or sending API. Switch to its HTML or source view.
- Paste near the end
Place the snippet inside the message body, usually just before the closing
</body>tag. Keep it as HTML, not visible code. - Send a controlled test
Send to an address you control. Open the email once, then use Open activity from the browser where you created the pixel.
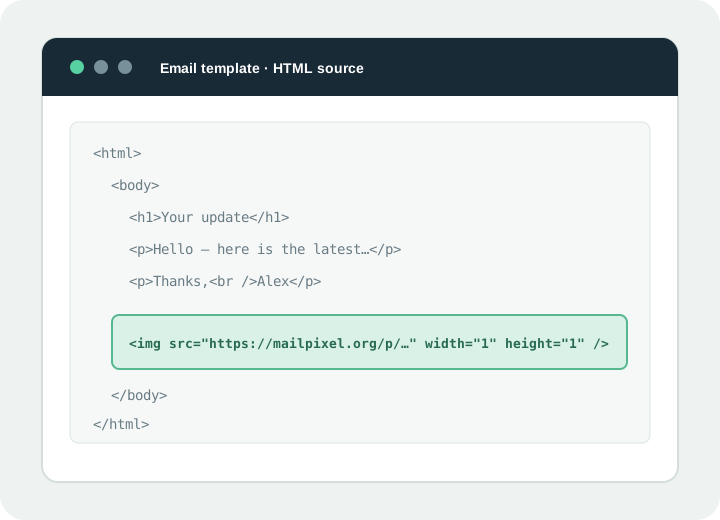
<img src="https://mailpixel.org/p/YOUR_PIXEL_ID"
width="1" height="1" alt="" />Use the copied pixel URL
Choose this route when the sender asks for a remote image address or when you write the image element yourself.
Copy pixel URL
The result looks like https://mailpixel.org/p/….
Use it as an image source
Paste it into a field named remote image, image URL, source, or src.
Keep the image hidden
Set width and height to one pixel and leave alternative text empty.
<img src="YOUR_COPIED_PIXEL_URL" width="1" height="1" alt="" />Do not: paste the URL as visible message text. Do not open it in a browser just to inspect it; opening the URL creates an image request.
Check the activity page
MailPixel saves active pixels in the browser that created them. Open Saved on this browser, then choose Open activity. The page opens in a new tab so your generated HTML and pixel URL remain available.
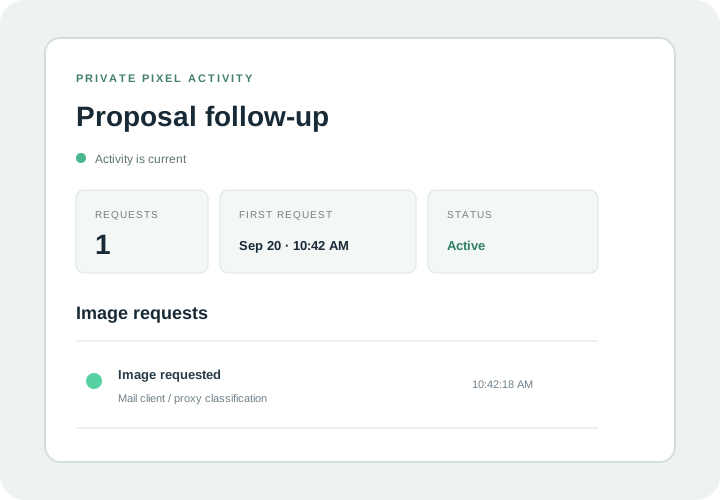
Read the signal carefully
An image request can come from a recipient, an email security scanner, or an image proxy. A mail client can also cache or block the image.
Treat the activity as a delivery and engagement clue. It is not proof that a named person read the message.
See how email tracking works →Test before using it in a real message
Once the setup works in your sender, a short test catches editors that remove remote images or convert HTML to plain text.
- The message source contains the
mailpixel.org/p/image URL. - The URL is inside an image source, not visible text.
- Opening your test email adds a request on the activity page.
- The final message and label contain no sensitive personal data.